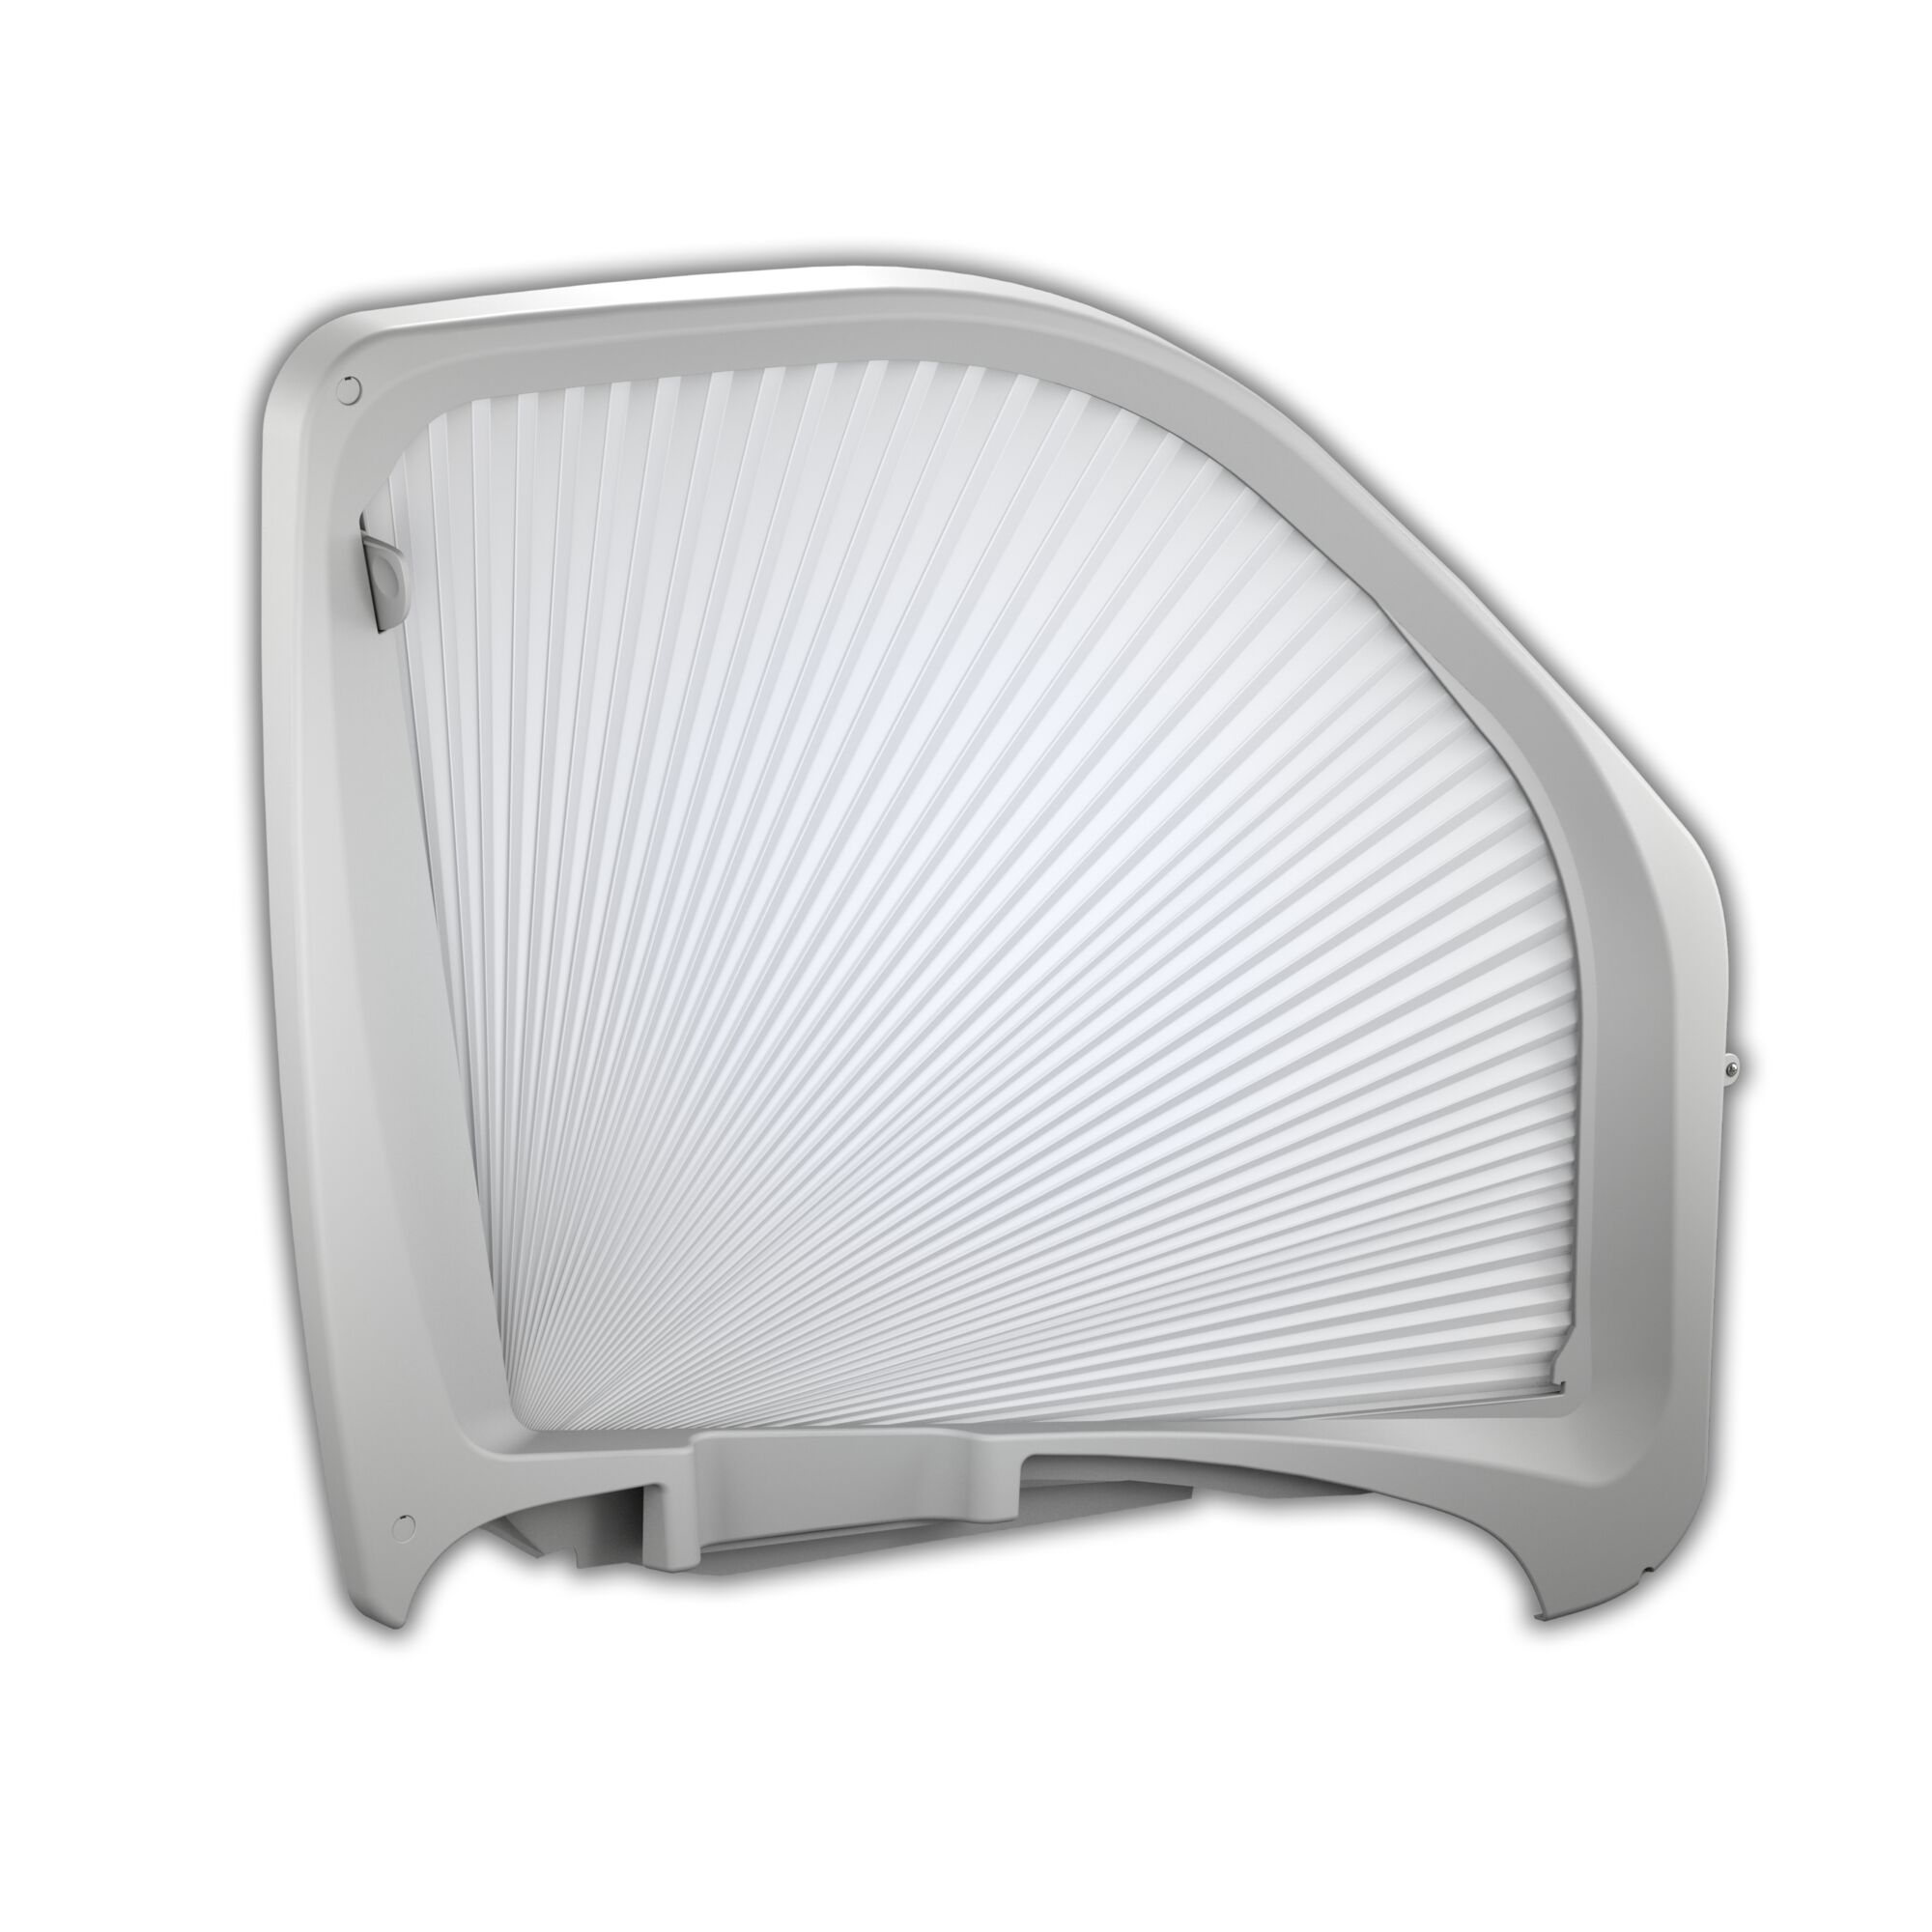
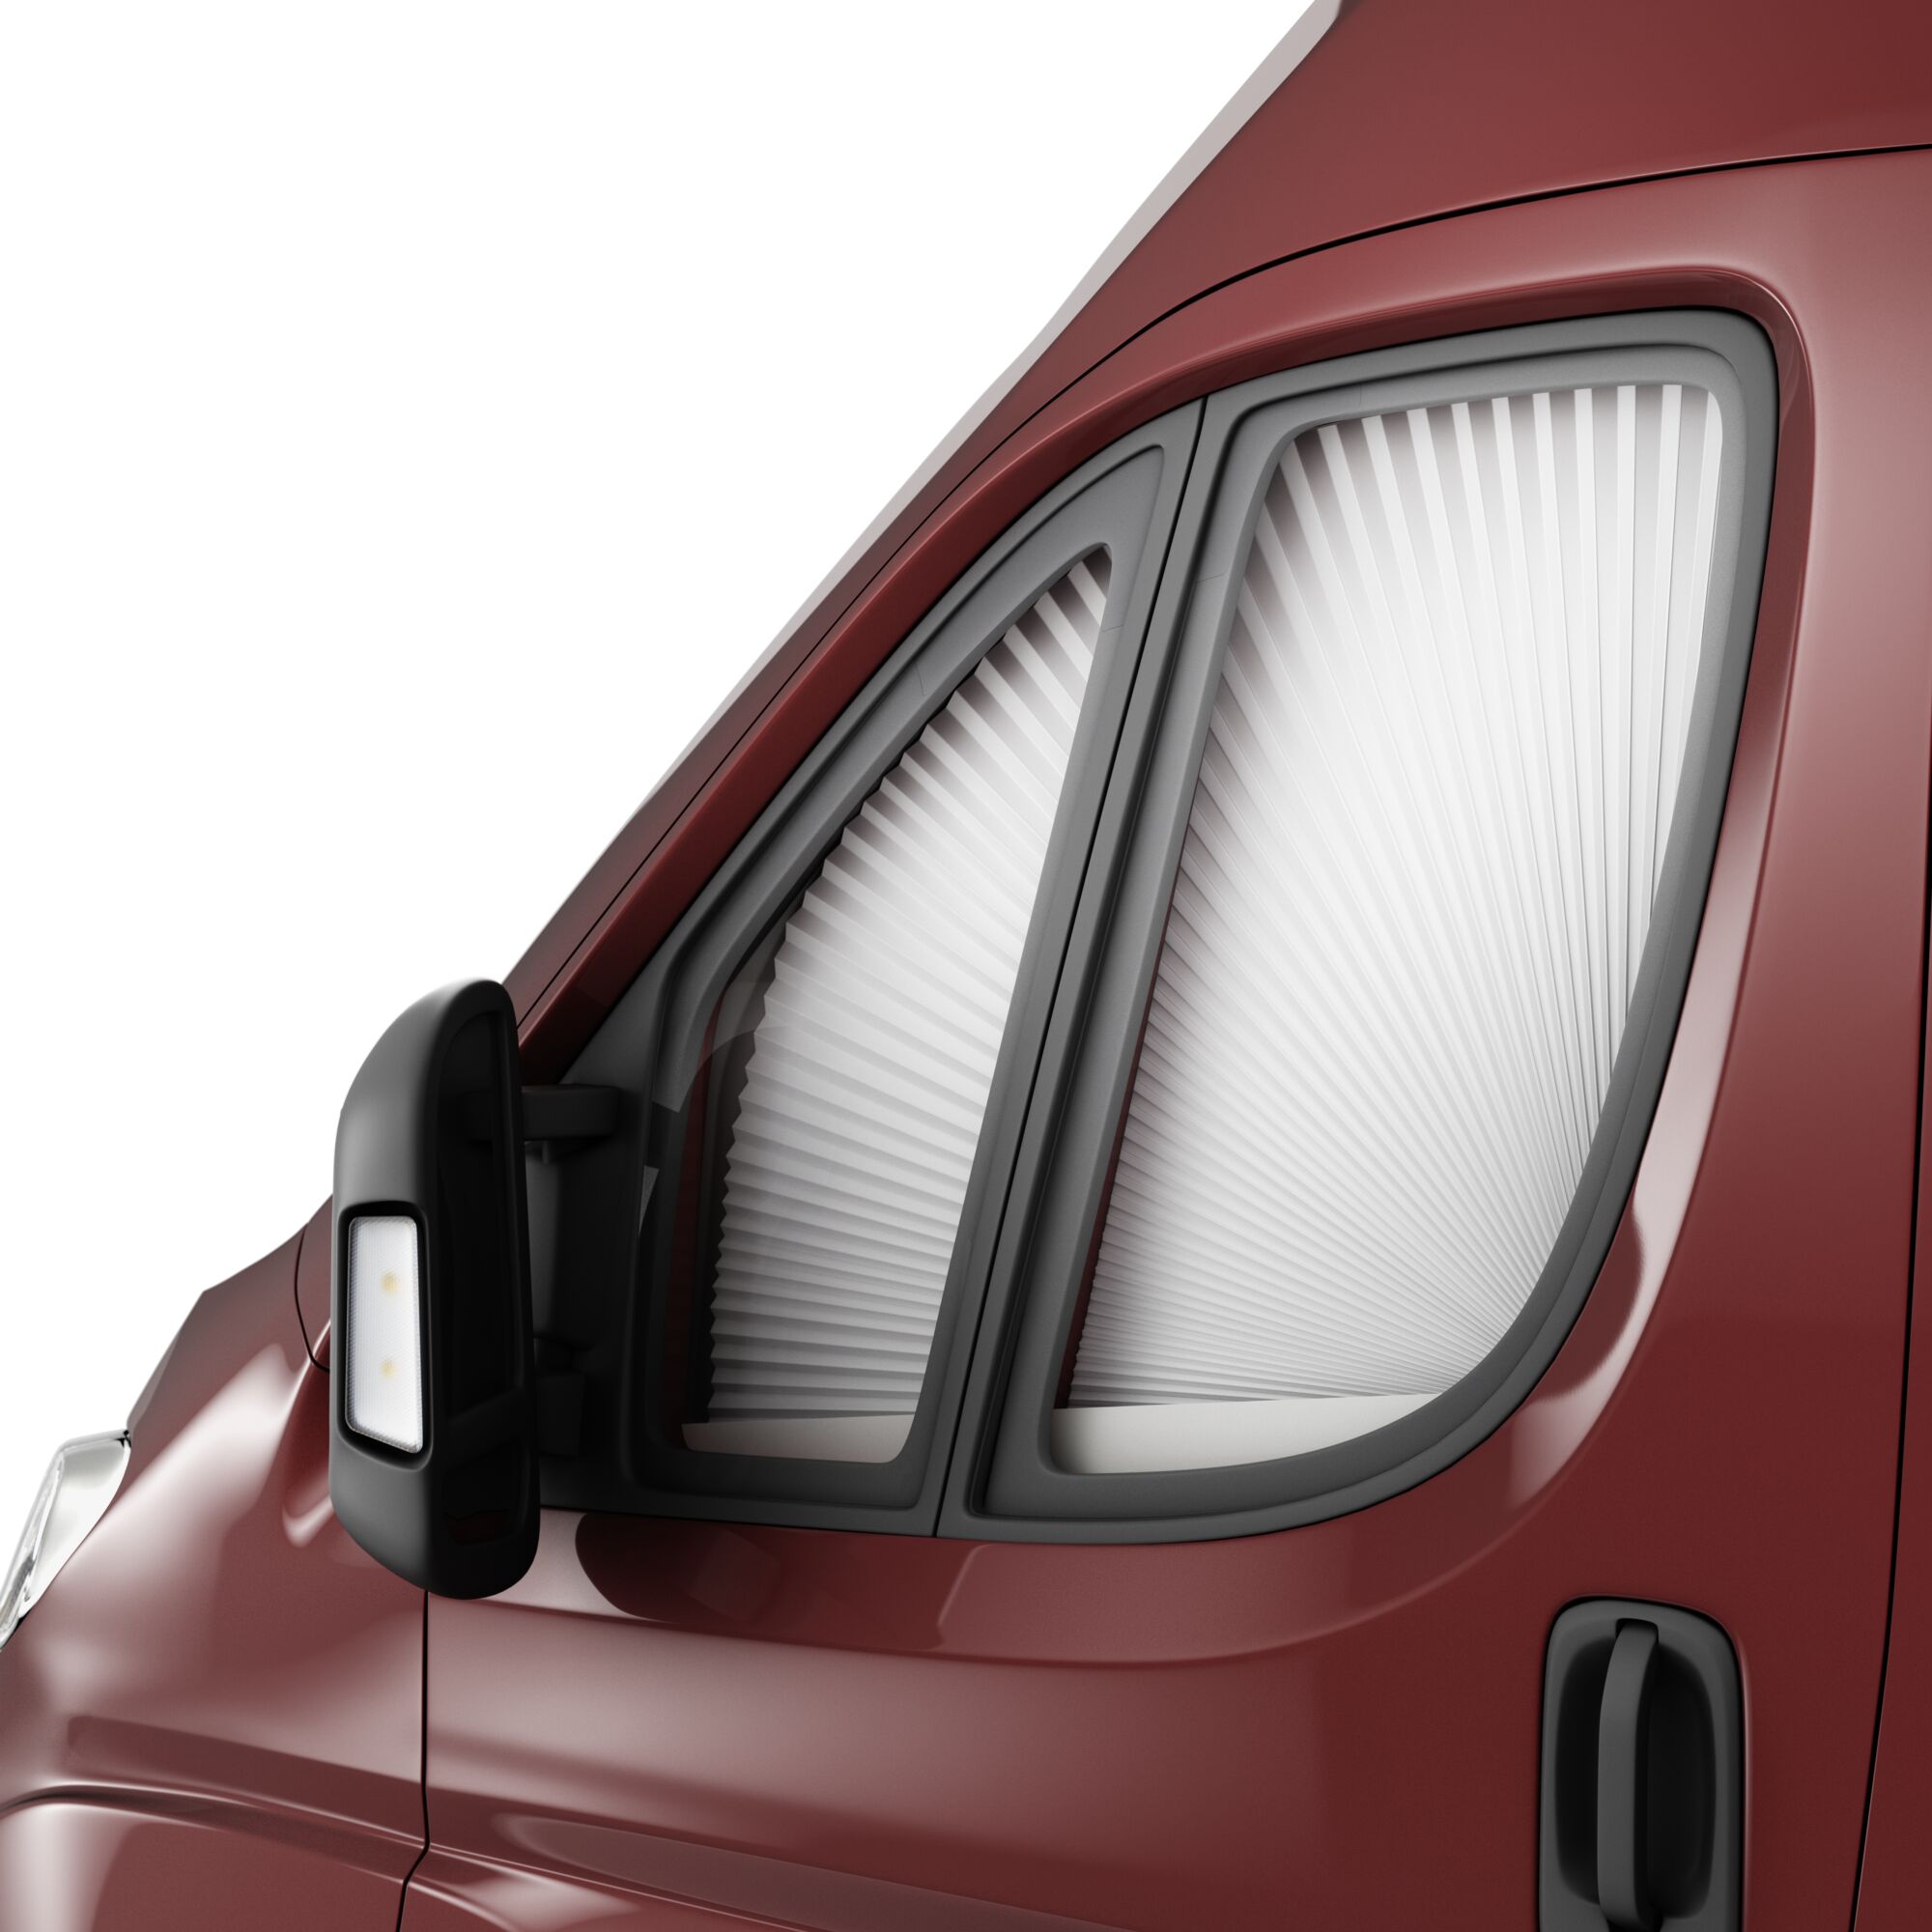
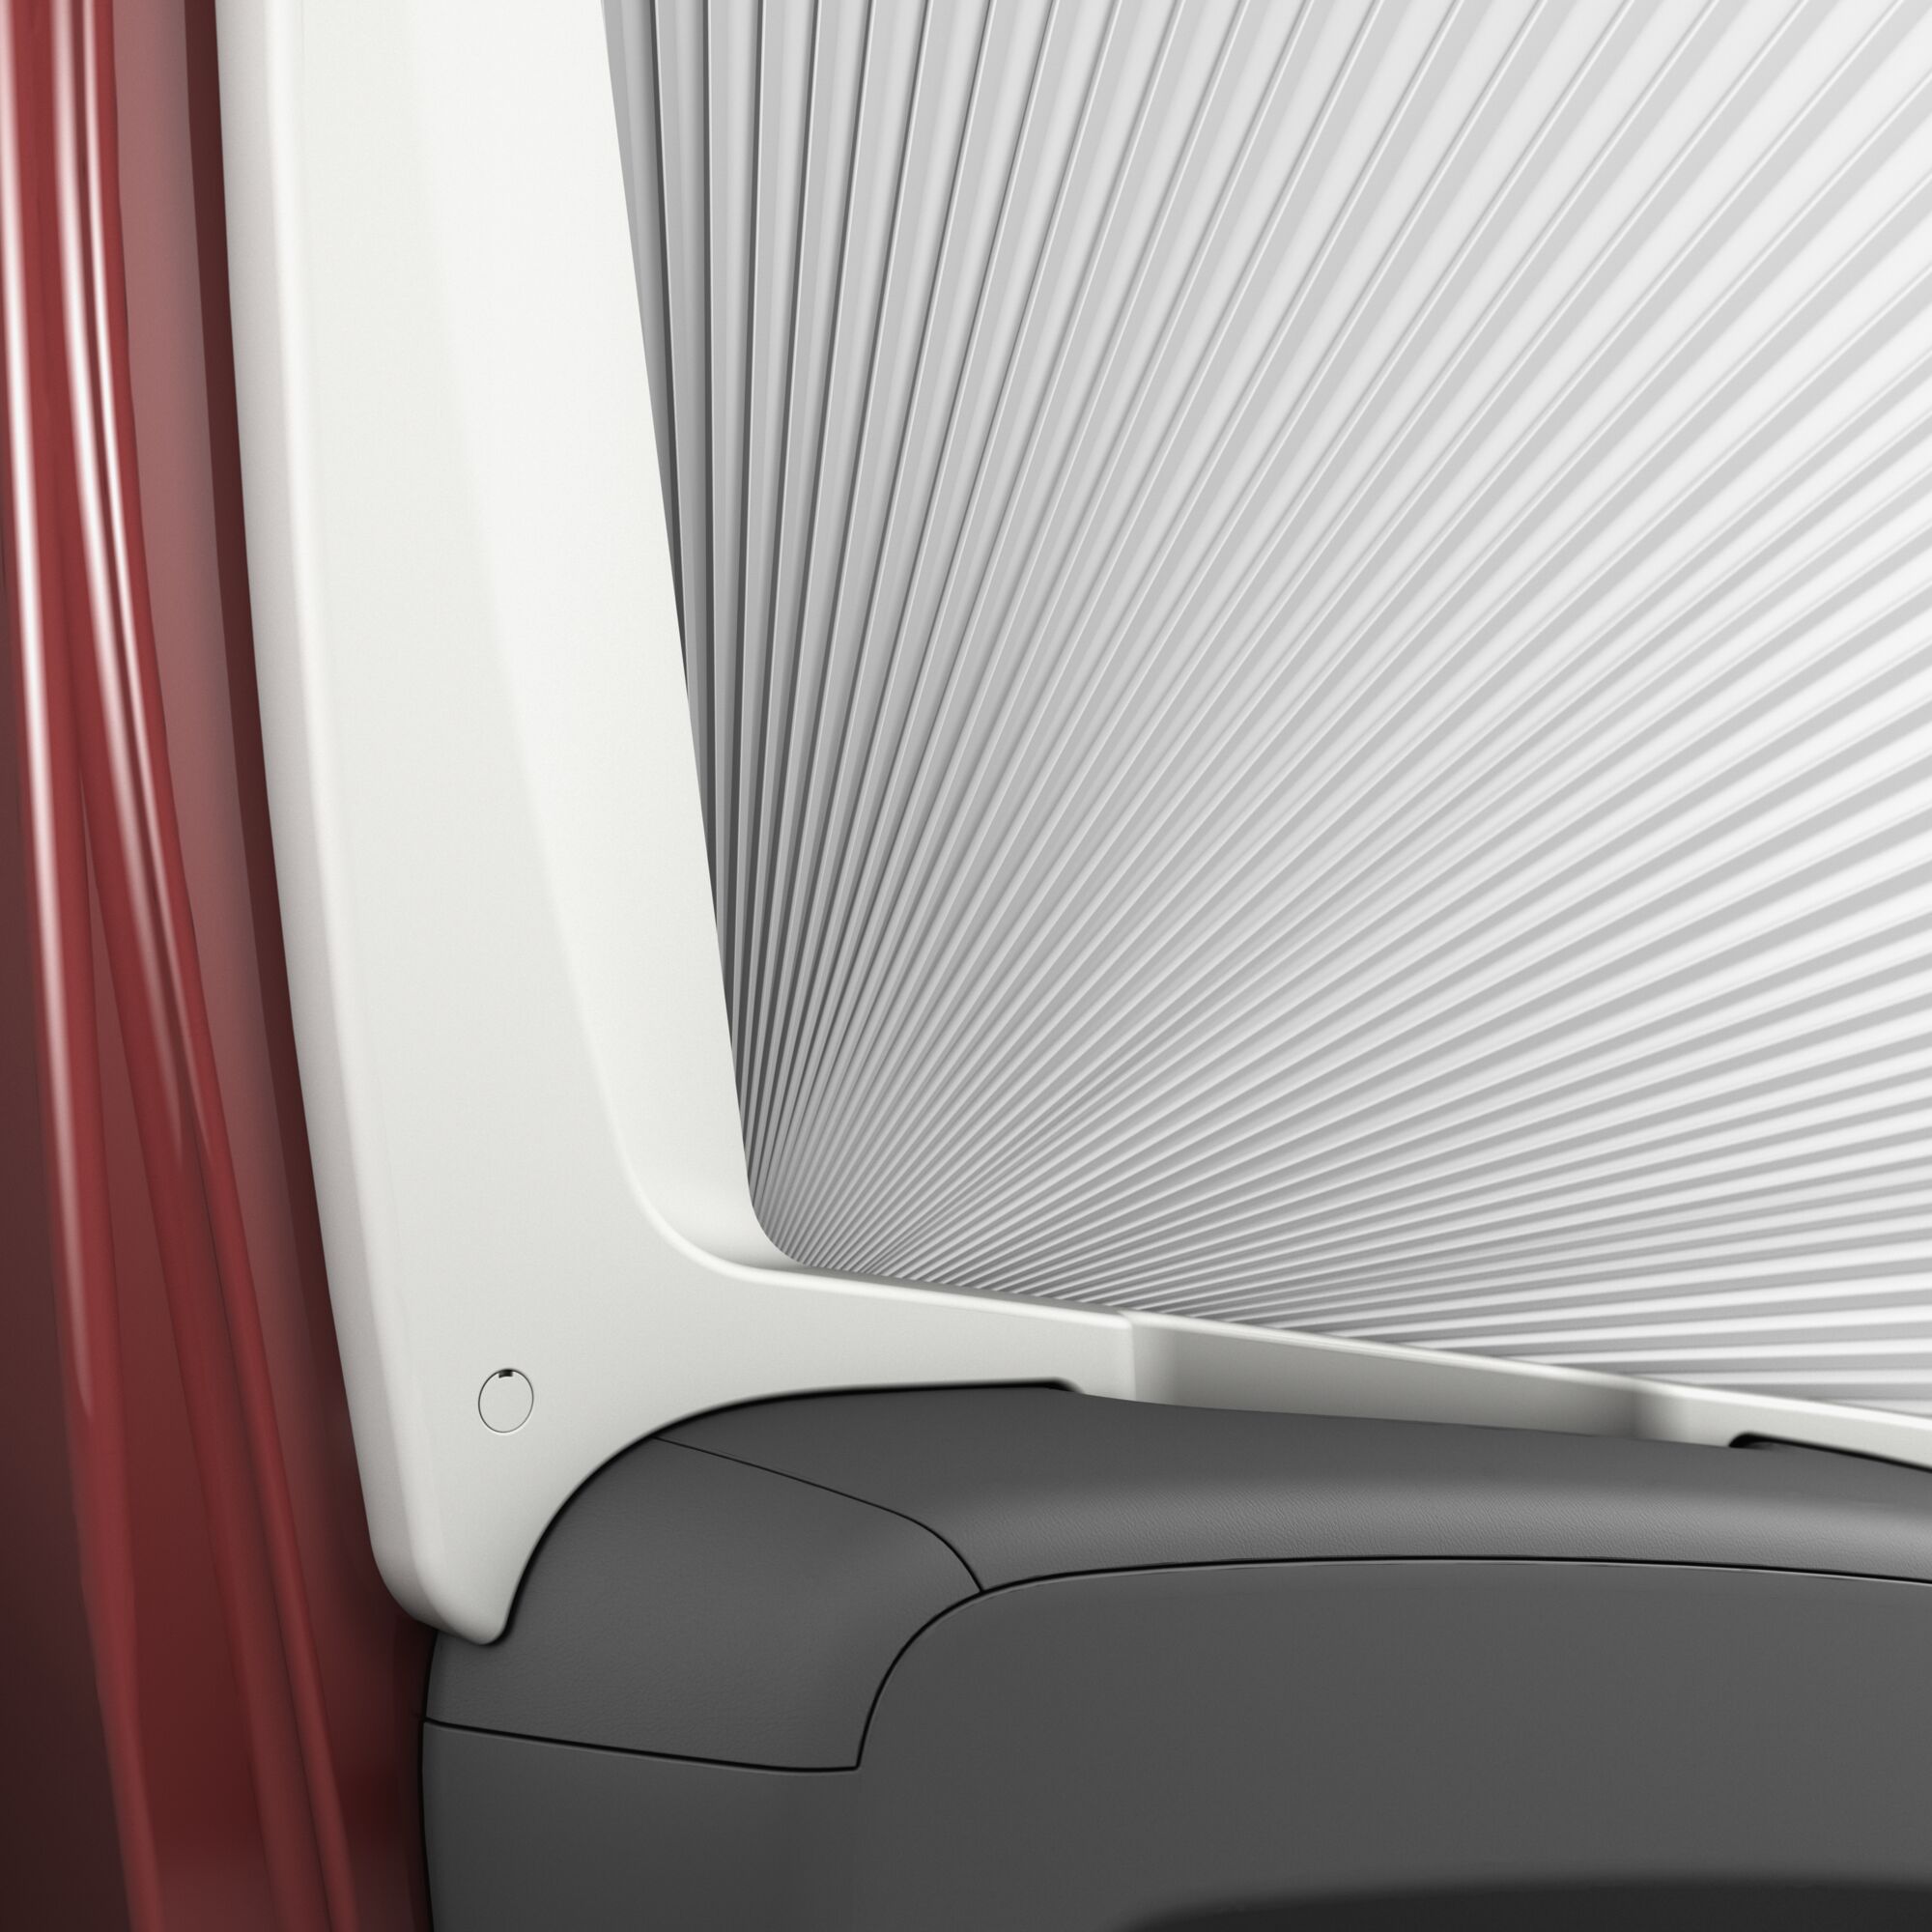
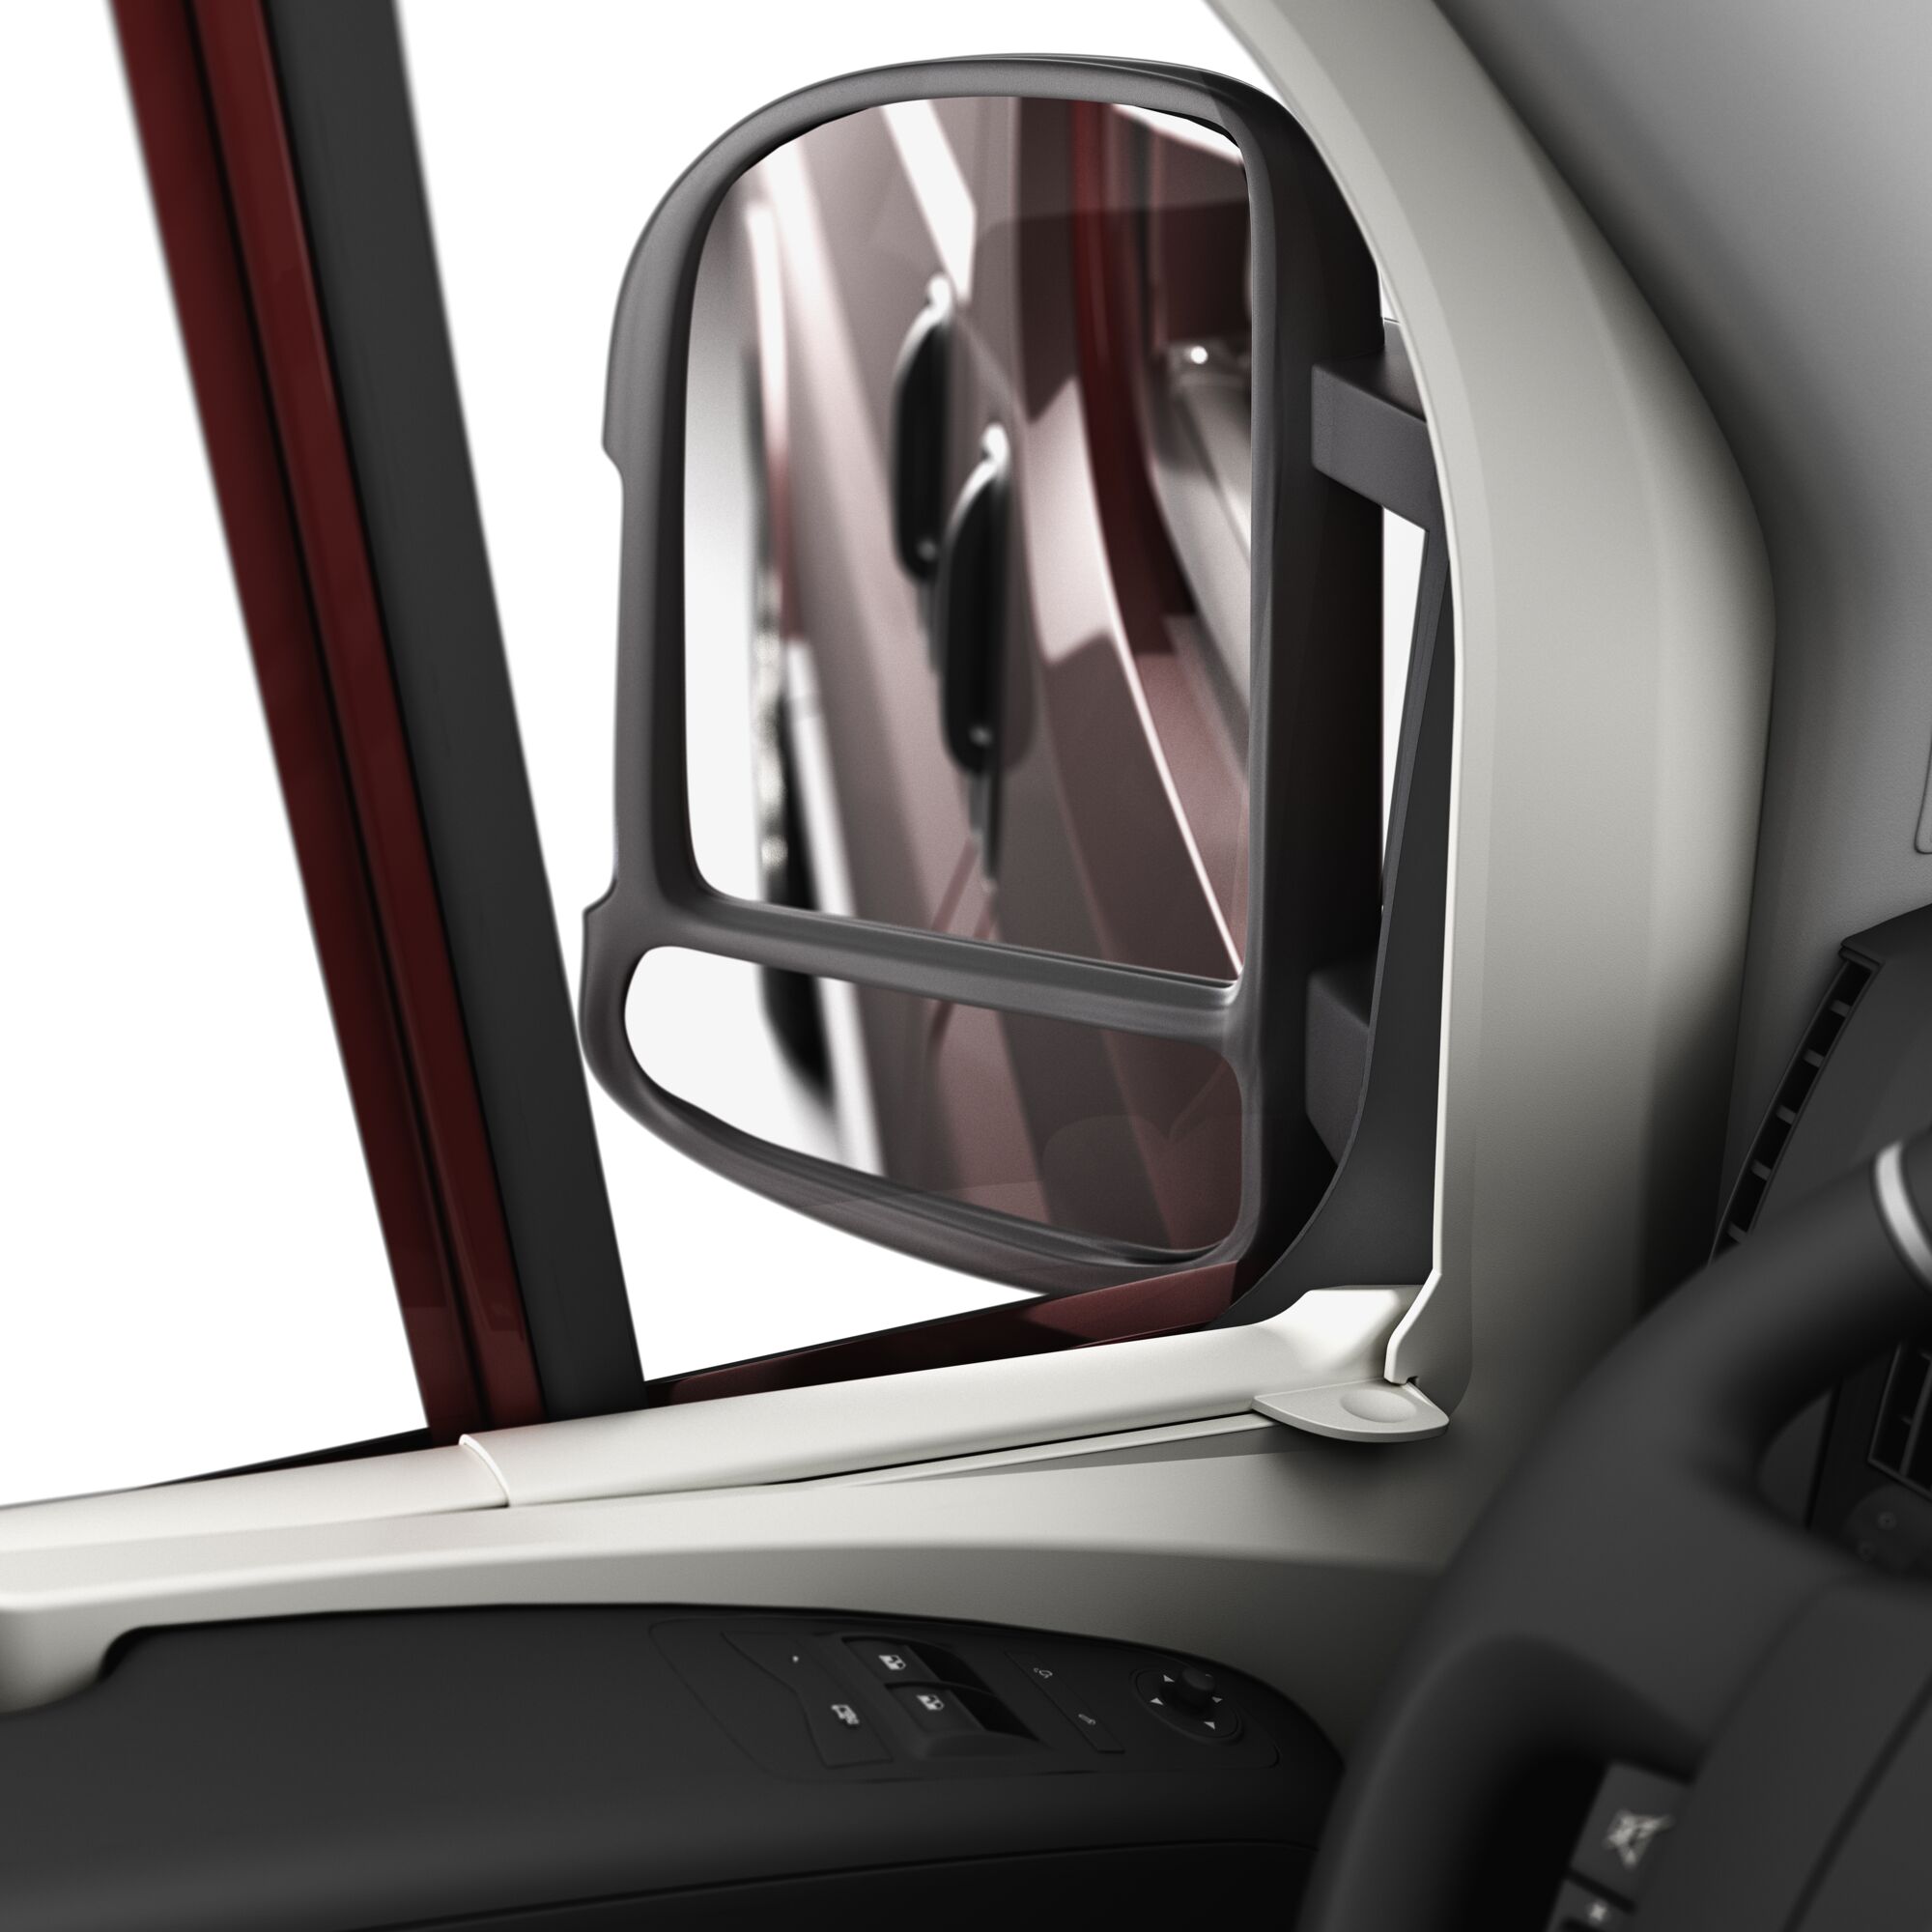
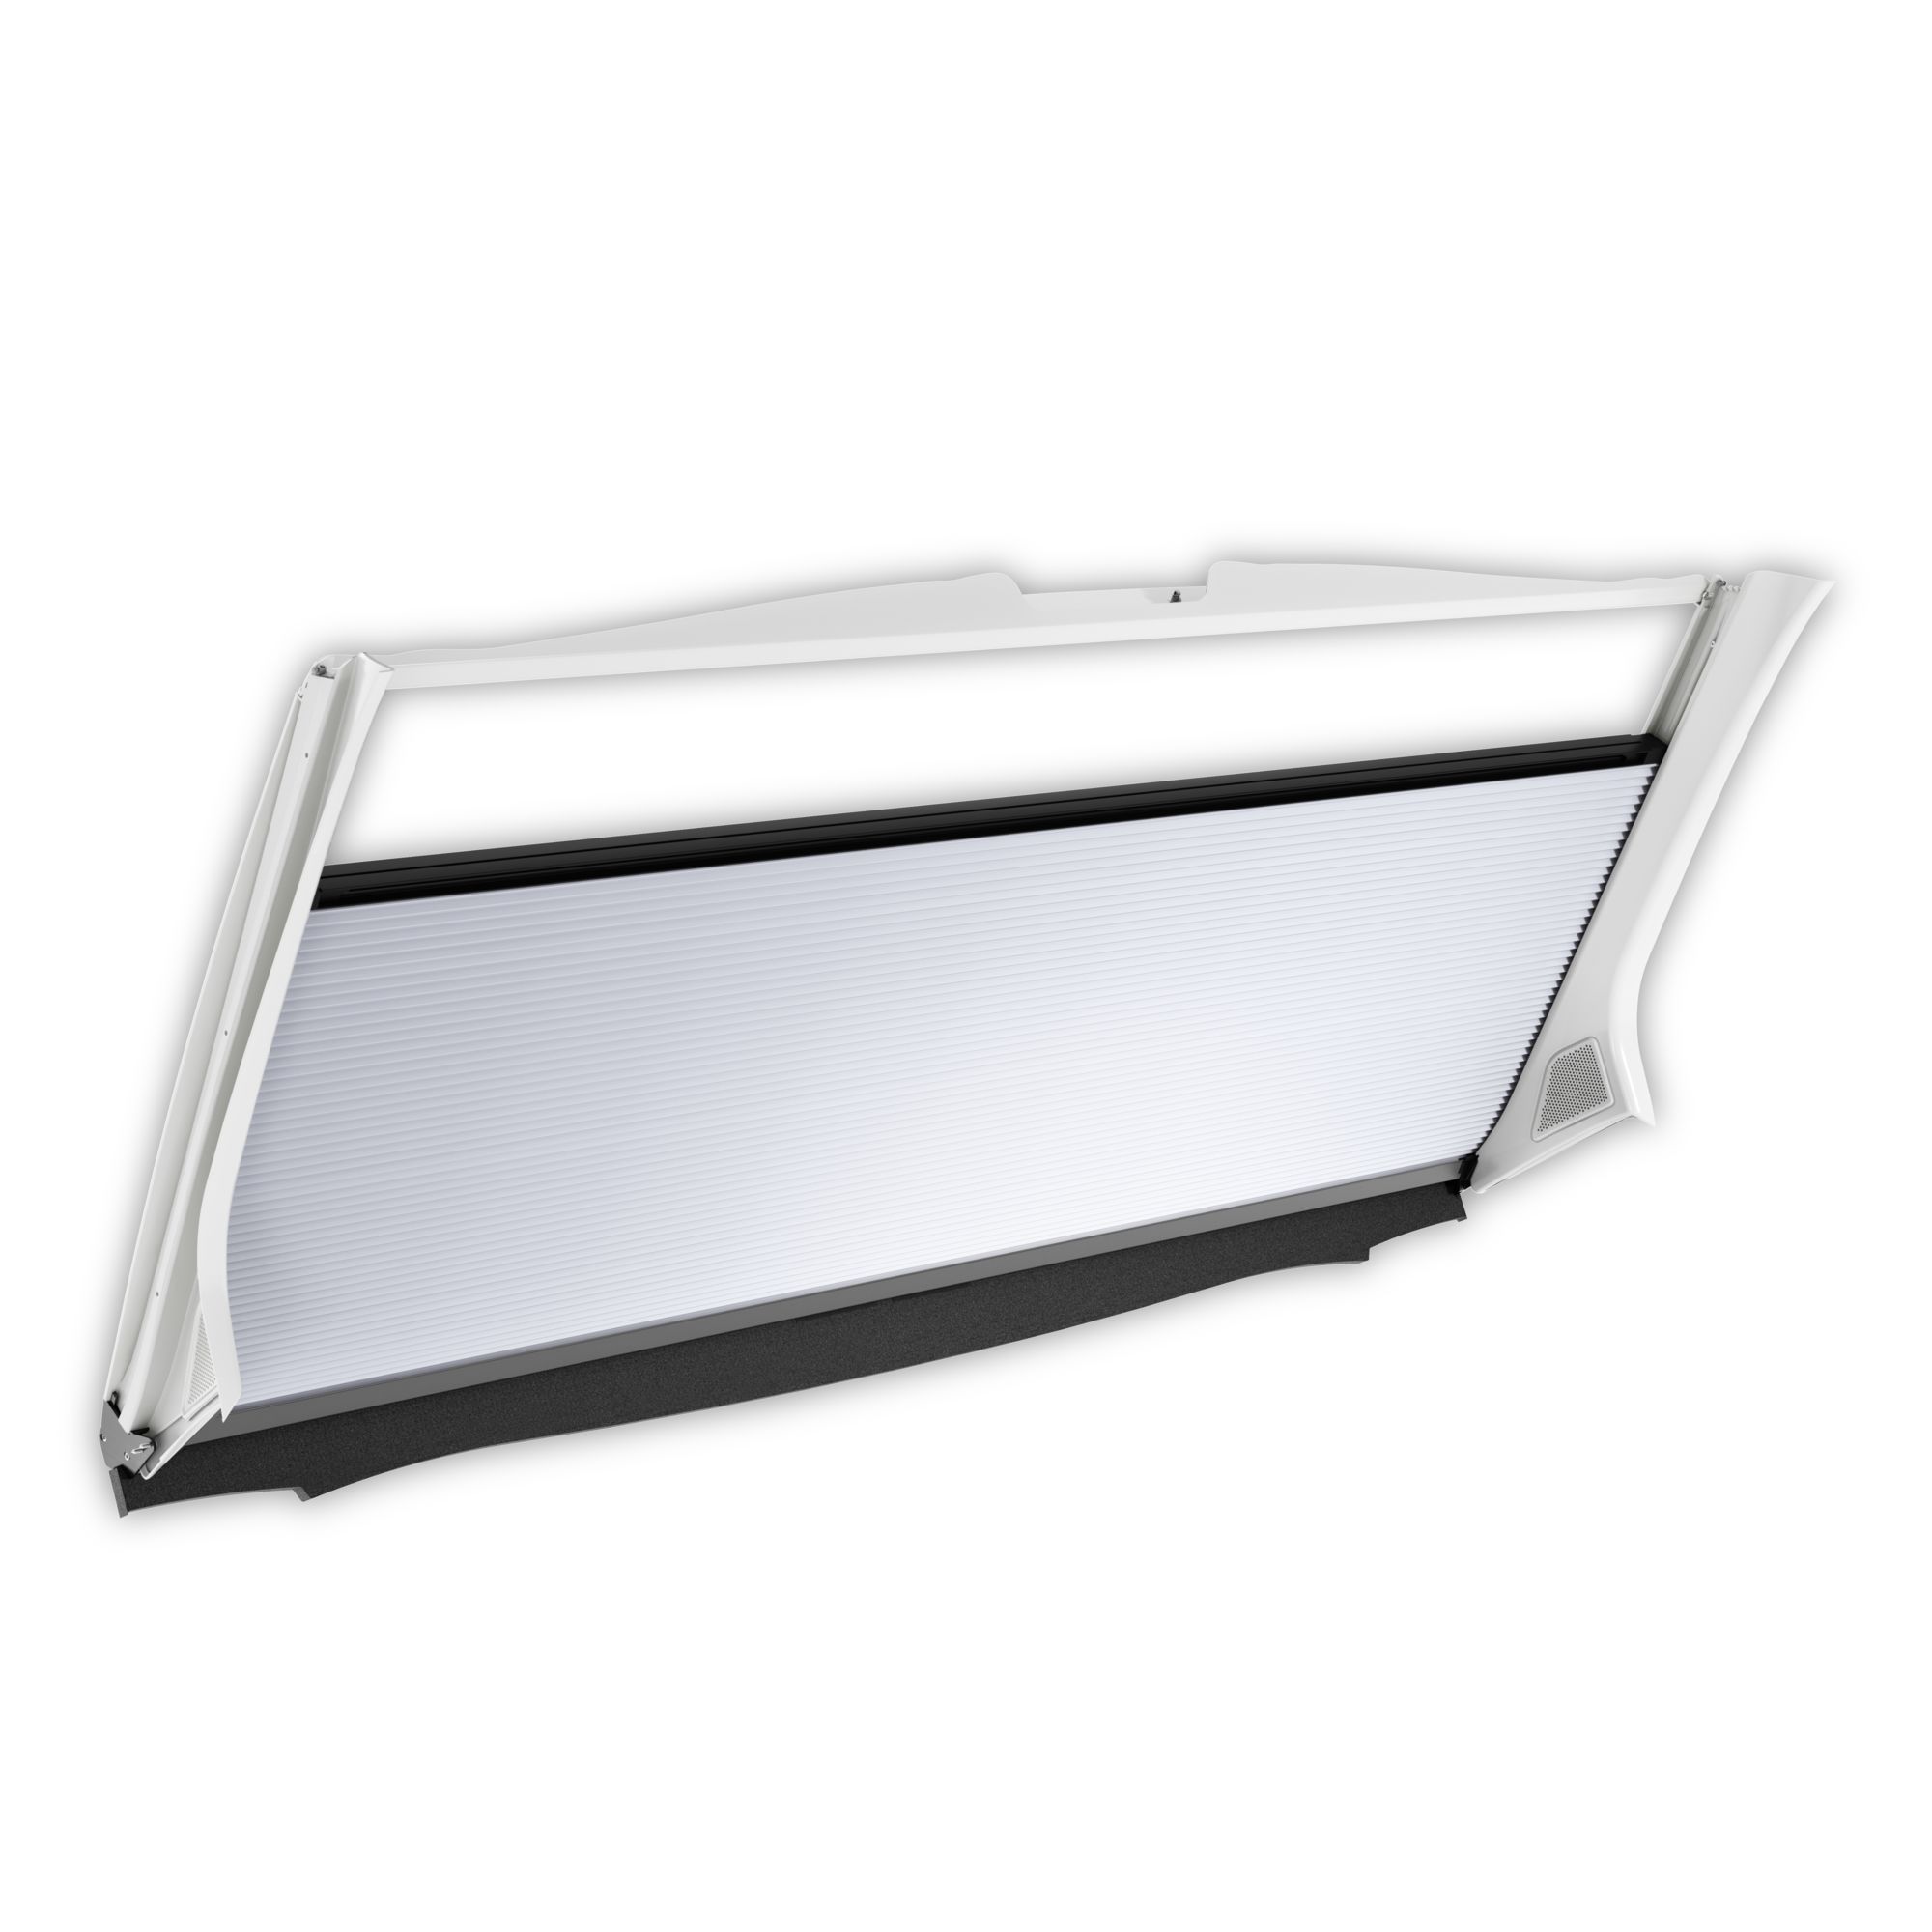
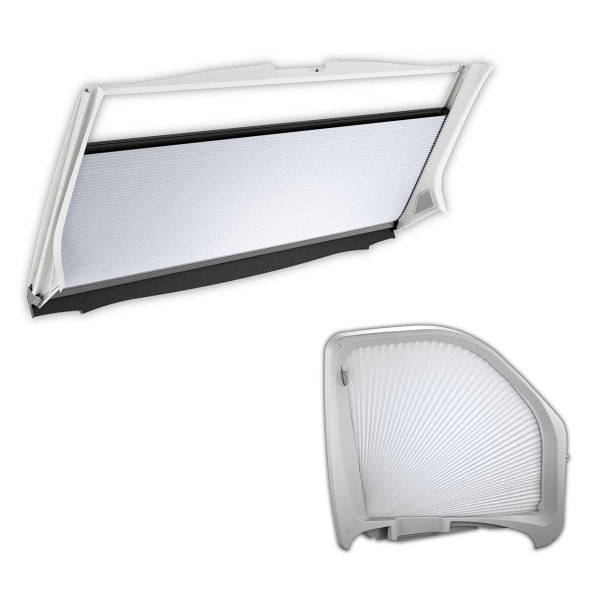
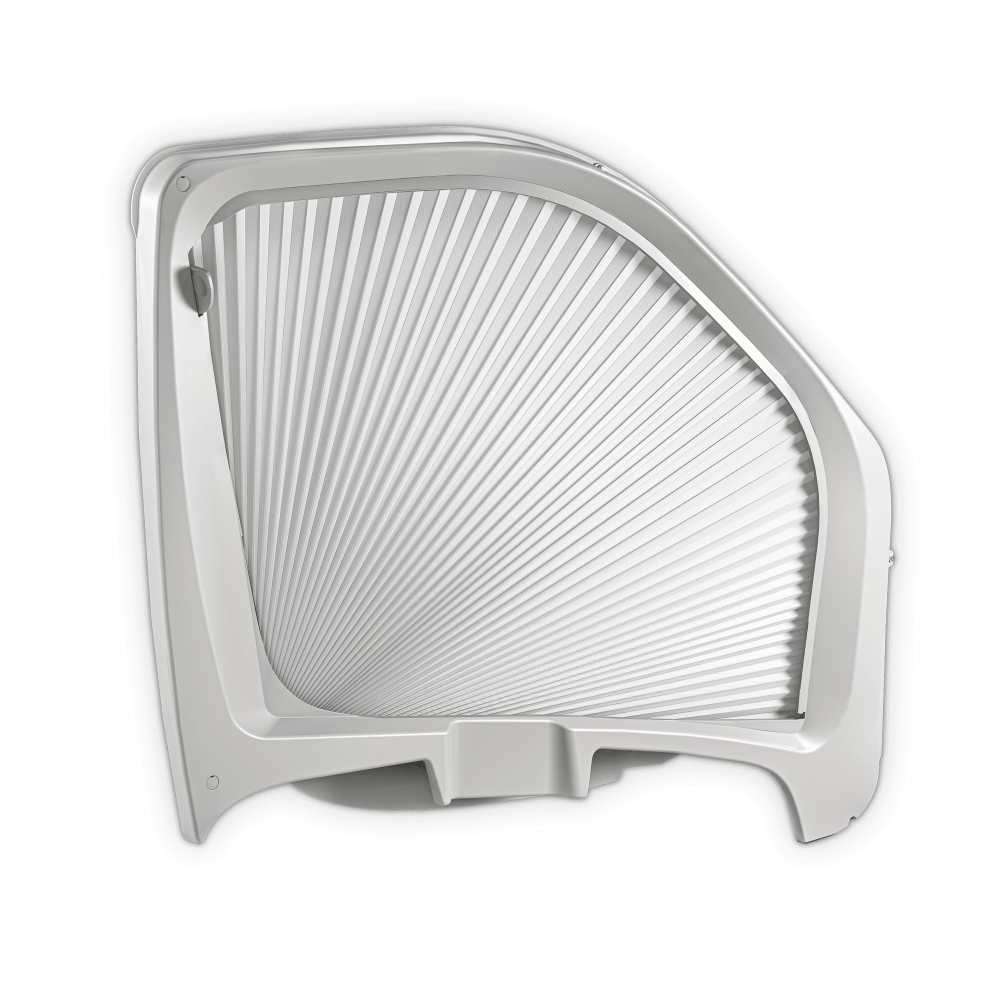
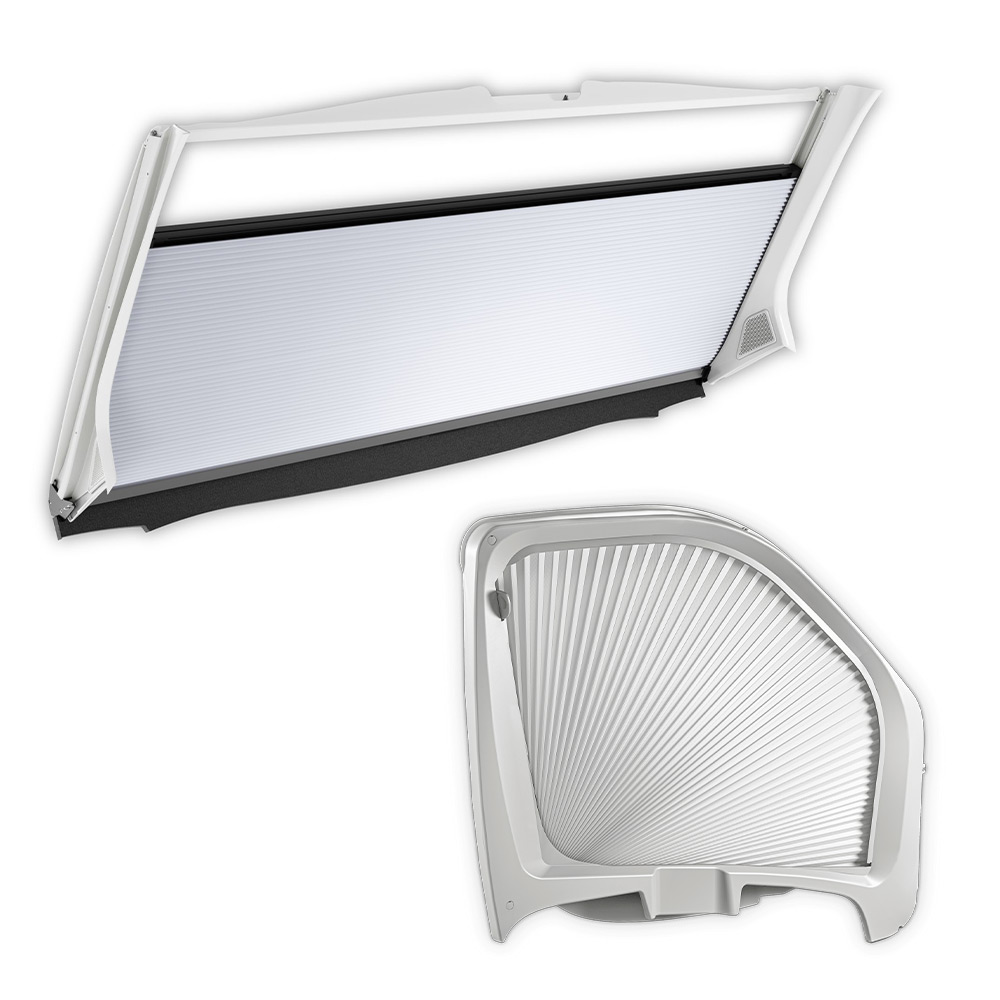
Since 2019 the proven side window darkening system is integrated in a robust, circumferential full frame. This makes the blind even better protected in everyday use and even easier to operate. In the color RAL 7044 (silk grey), the full frame also optically adapts to the associated front screen darkening system FP 300 or FP 210 optimally.
The proven and high-quality darkening blind for the side windows, left and right, of a motorhome/camper based on Fiat Ducato type X250/X290 or the identical models Peugeot Boxer and Citroen Jumper from year of construction July 2006 until December 2023 (Fiat Ducato just until July 2021; see also our adjoining note unter "Good to know!").
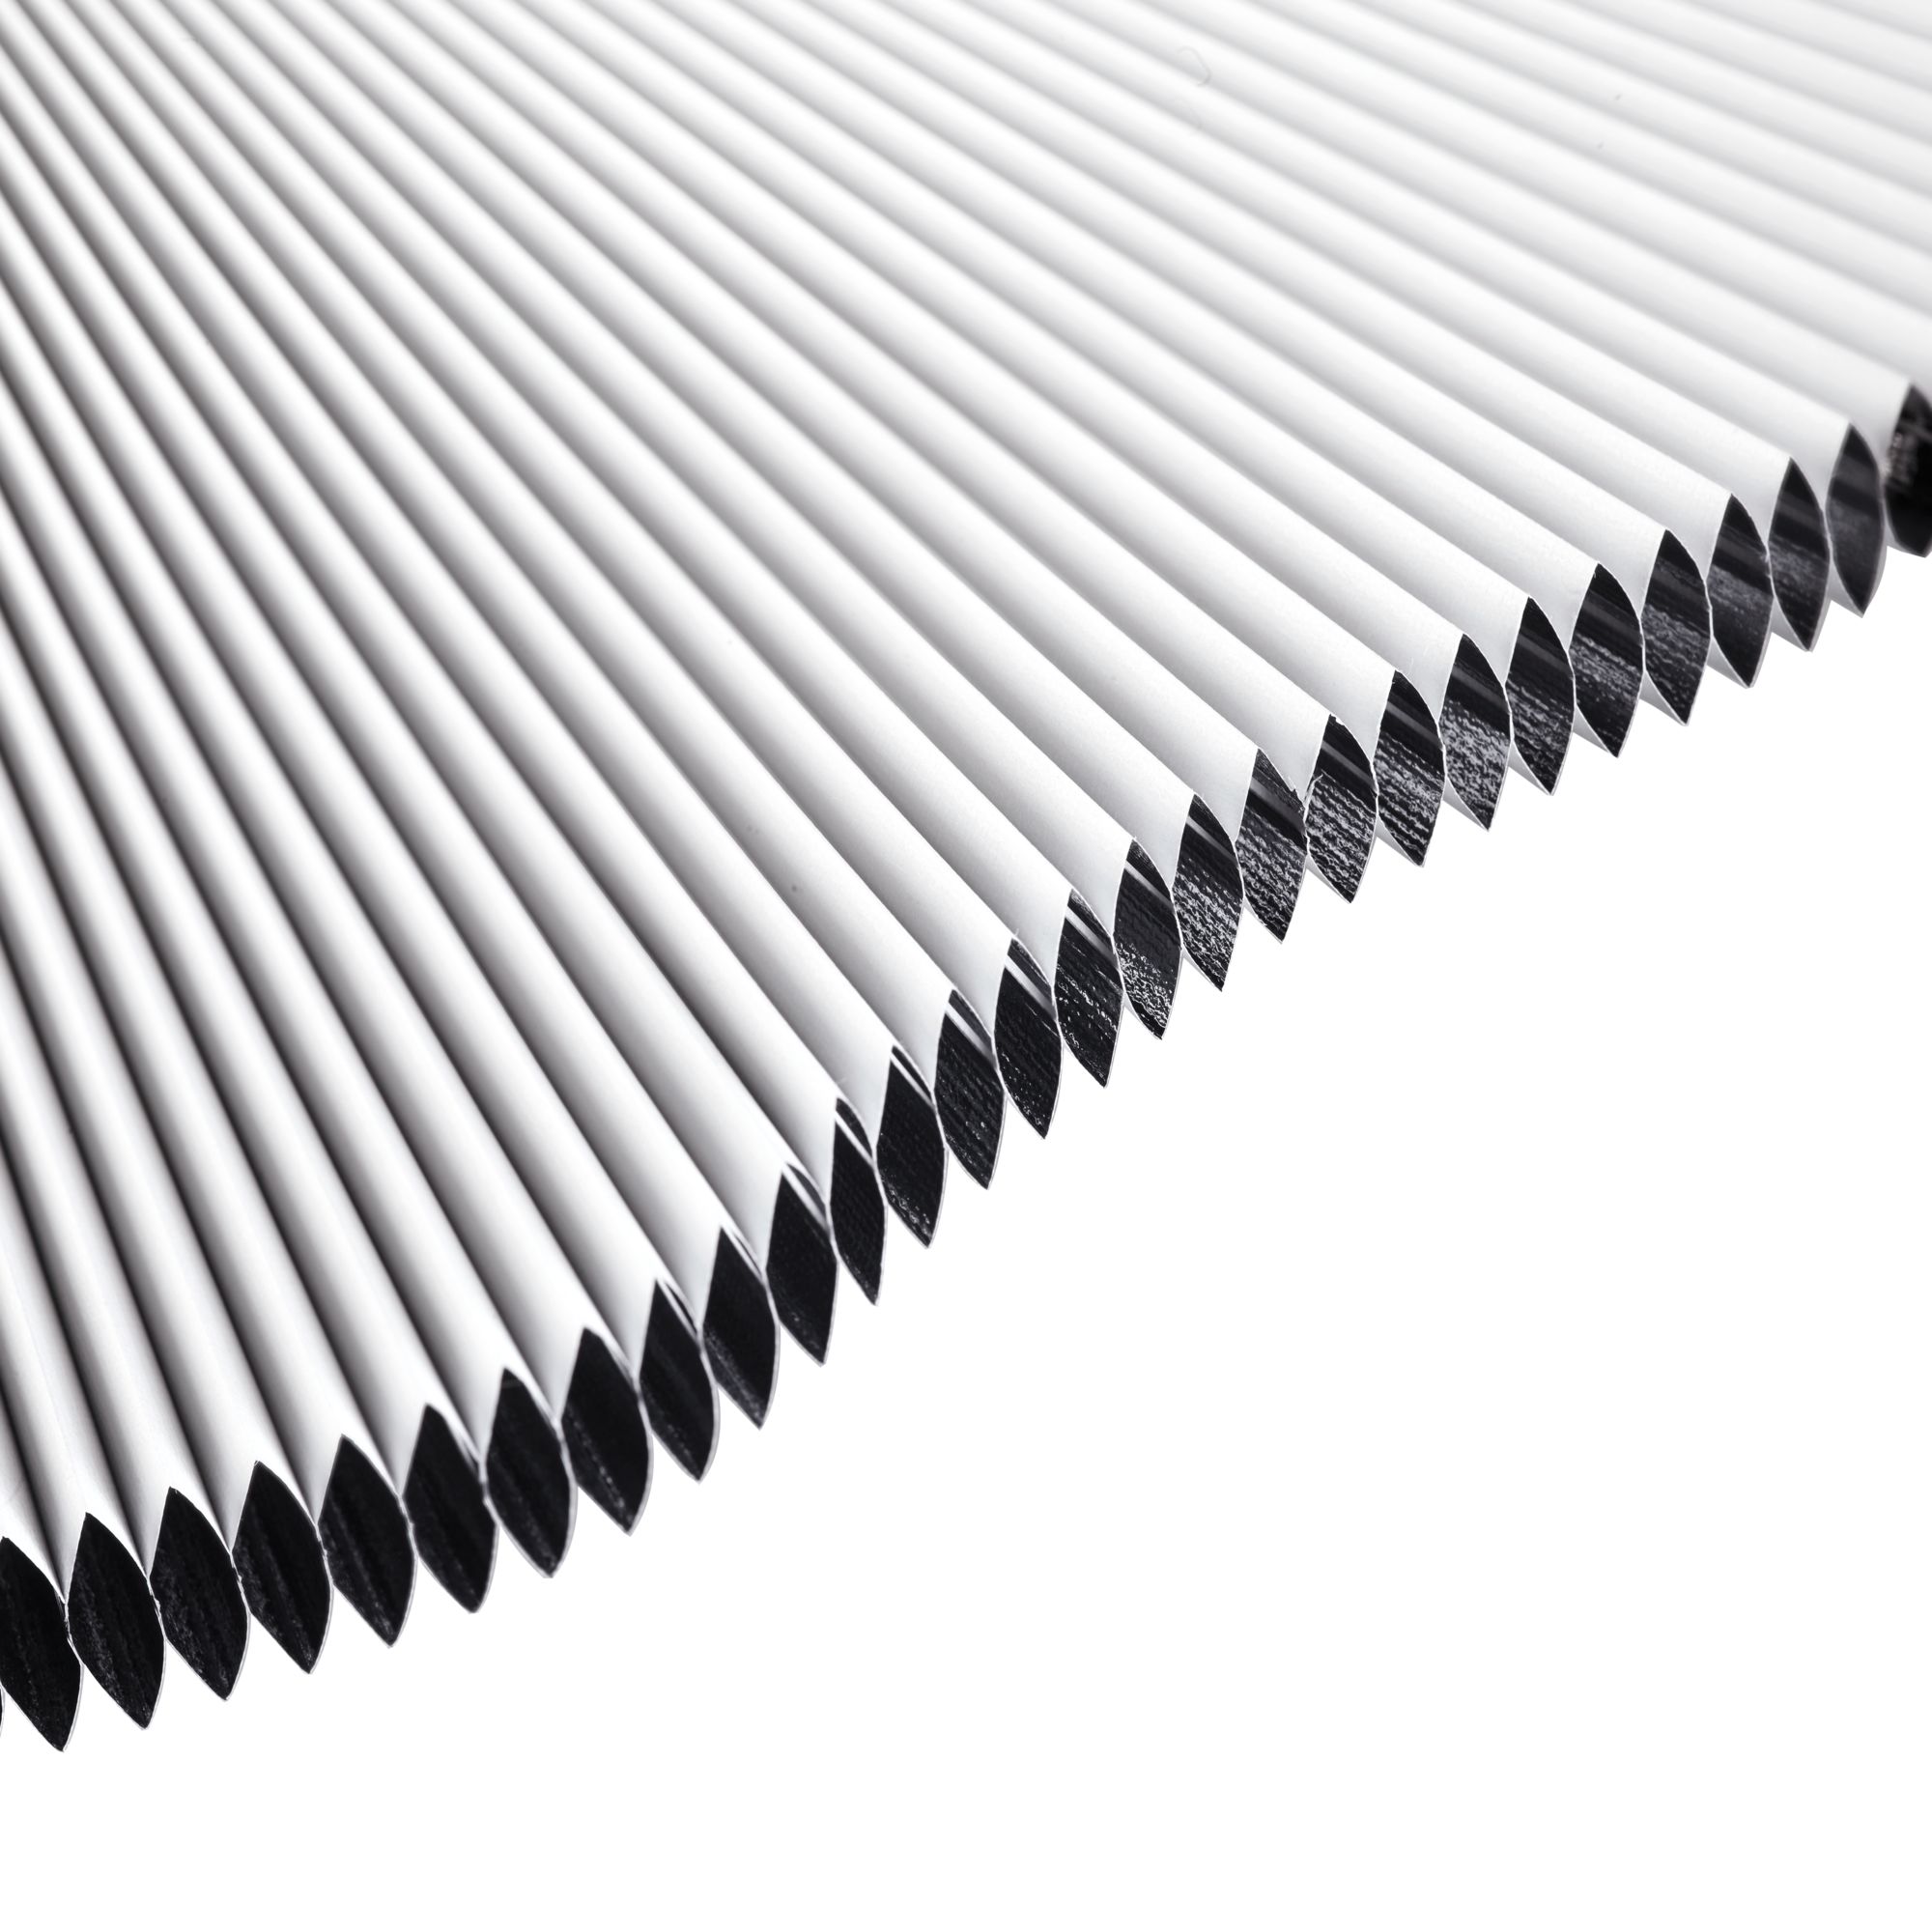
Not only does this system protect your privacy from the prying eyes of others, it also keeps out heat, cold and up to 99% of harmful UV radiation. The Dometic side window darkening blind SP 300 is made of double-pleated, aluminum-coated honeycomb material and is very easy to mount (restrictions see "Good to know!").
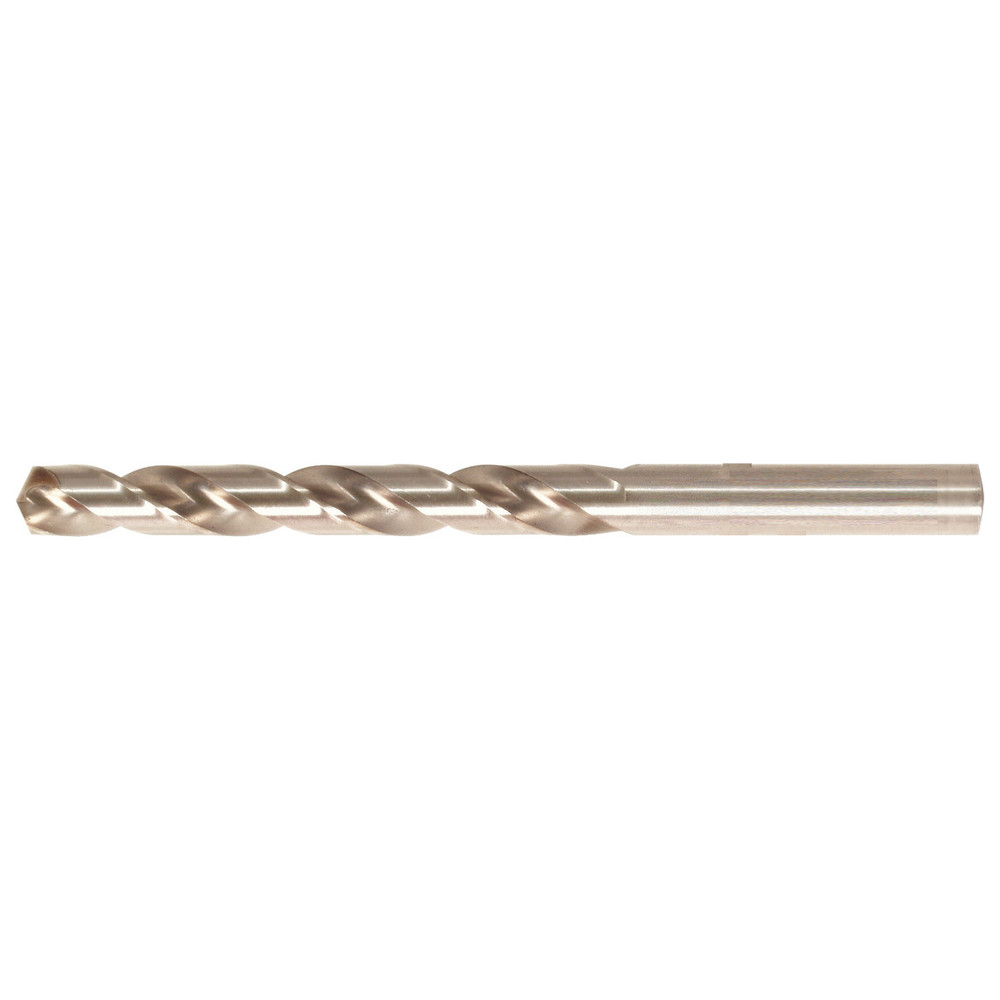
For mounting the side window darkening, you need a hand or cordless screwdriver with a small cross bit and a metal twist drill Ø 2.8 mm. If you do not have such a metal twist drill available, you can add one directly to your order (see "Accessories" below).
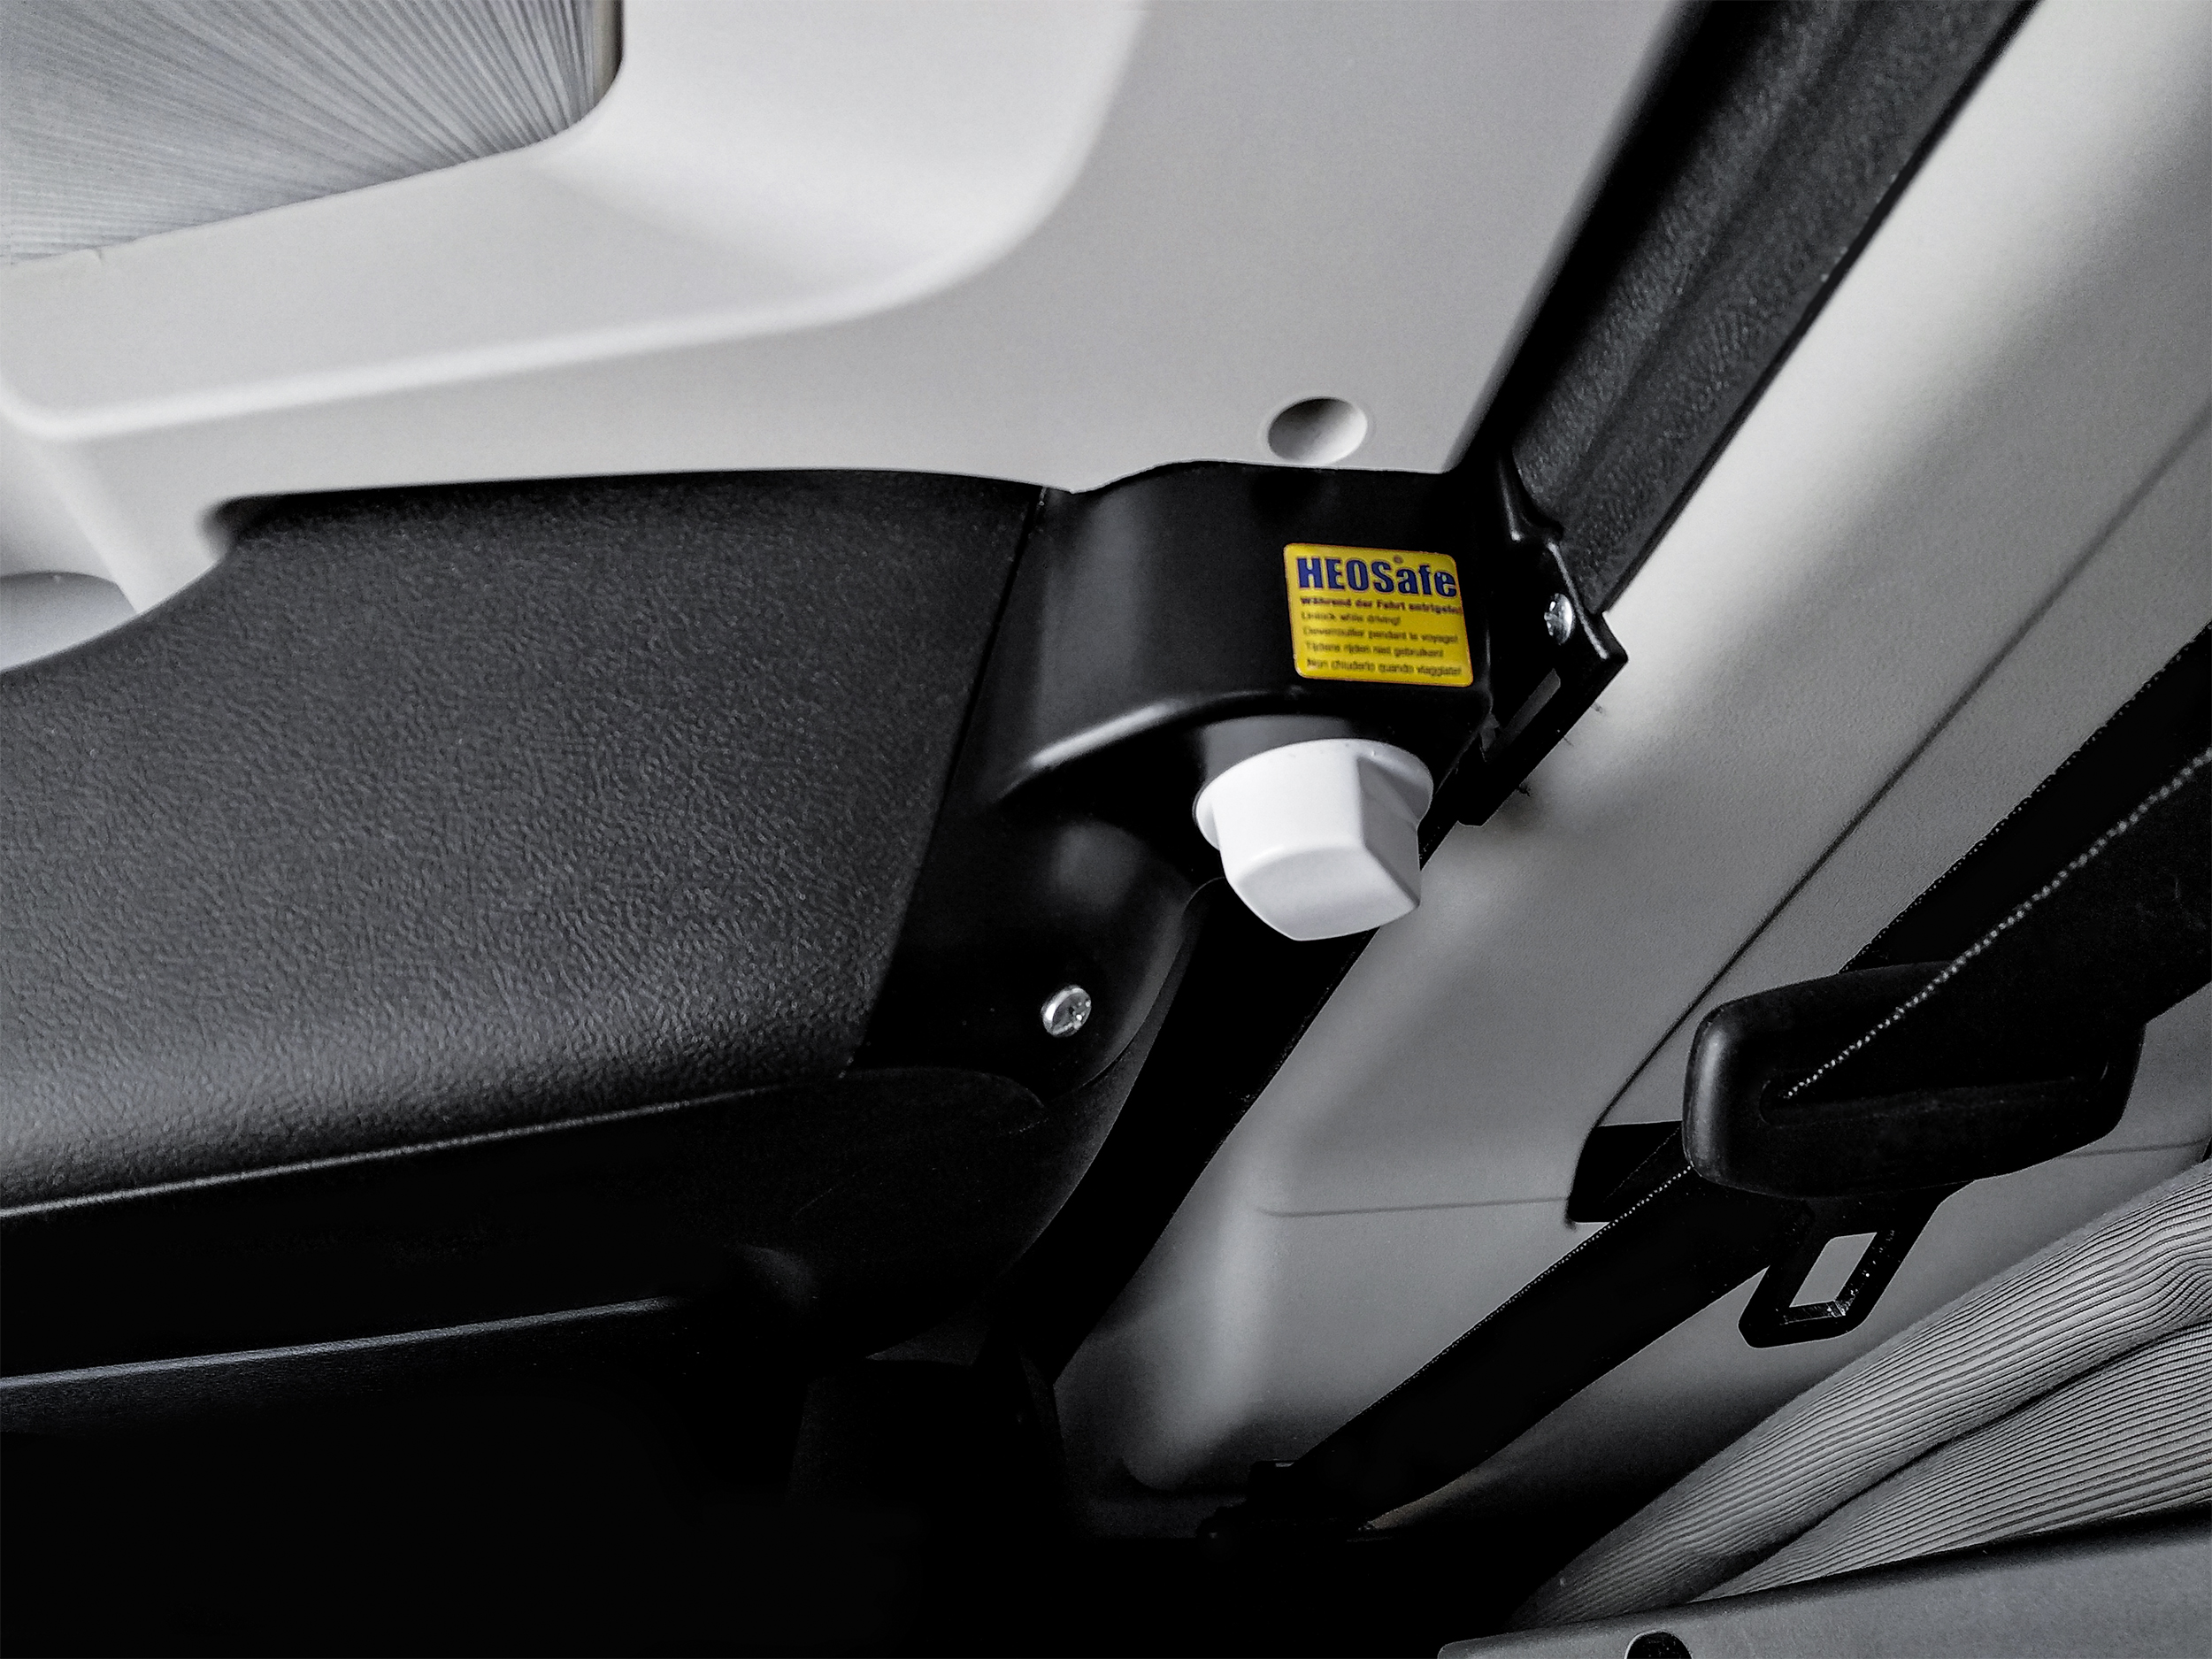
Vehicle owners whose motorhomes/campers are equipped with HEOSafe additional locks on the driver's and passenger's door are asked to provide our advice / information in the adjacent tab "Good to know!" to be observed.
The scope of delivery includes only the darkening blind for the left and right side windows of the driver's cab and its mounting material.
The identical darkening system for the windscreen is optionally available (see our Item-Number 550-00670) or can also be purchased as a complete package (Item-Number 550-00680). The darkening blind for the windscreen is suitable for left-hand and right-hand driven vehicles!
The metal twist drills required for assembly can be purchased if you do not already have them (see below under "Accessories").
Important NOTE!
The Dometic SP 300 side window darkening does not fit FIAT DUCATO manufactured from July 2021 (the new model series 8) because the design of the door panel has changed. For this Dometic has developed the article SP 310, whose full frame has been adapted to this. However, the principle of the actual side window darkening has remained unchanged.
For the Peugeot Boxer, Citroen Jumper and the Opel Movano (since the end of 2021, these changes will only be made from January 1, 2024, so the SP 300 is still the right item for these vehicles produced up to this point.
We recommend installing the respective full frame from the inside with the driver's or passenger's door closed.
When inserting the full frame in front of the side window, you will notice that the frame is slightly smaller than the existing window section. This ensures that it is easy to use. Due to this circumstance, the frame used can also be moved vertically (up/down) and horizontally (to the left/to the right).
Practice has shown that before the frame is actually attached, the final position can best be determined if this is done from the inside with the vehicle door closed. This ensures that the full frame can be optimally positioned functionally and visually to possible door or ceiling panels.
Using HEOSafe door locks:
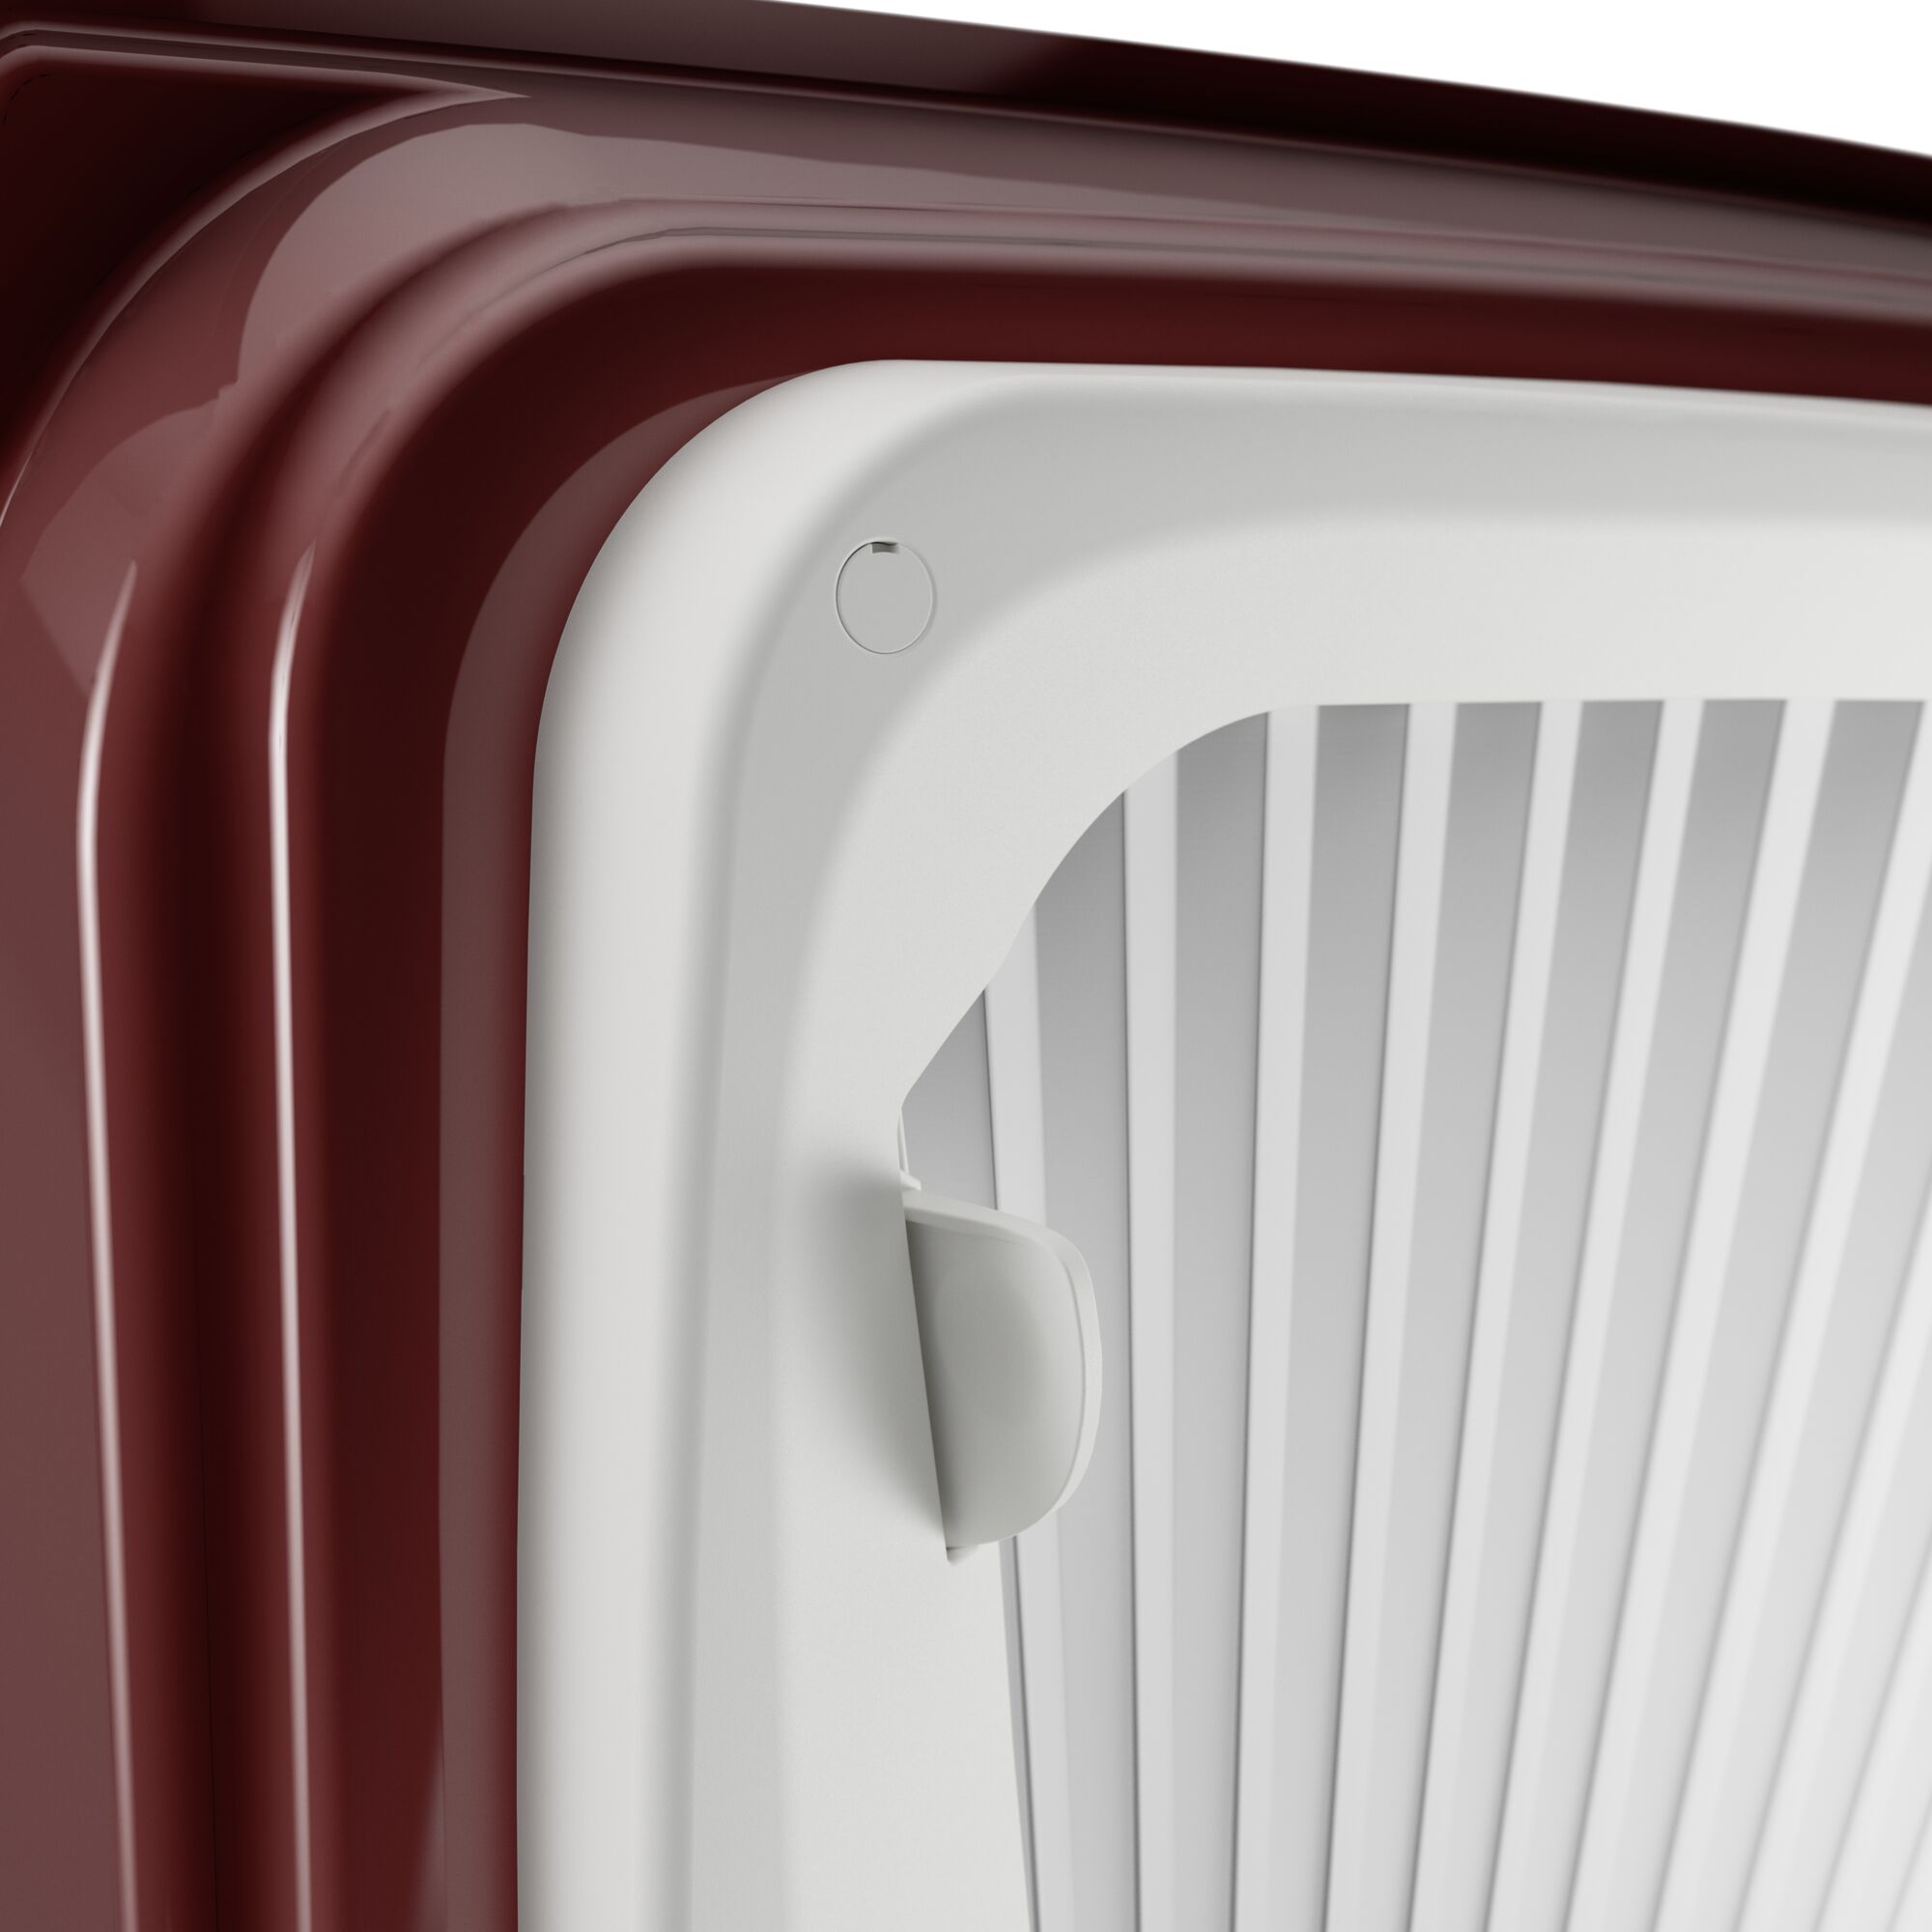
If HEOSafe additional door locks are already installed in your vehicle, the respective full frame must be adjusted on site. Unfortunately, the usual mounting position of the additional lock and that of the full frame of the SP 300 side window darkening do not match. The bottom corner of the SP 300 full frame overlaps with the top of the HEOSafe door lock. In order to be able to assemble the full frame of the SP 300, however, a cut-out must be made at this point, which can be made with files, a hacksaw or ideally with a Dremel tool. The cutout usually runs just below the screw hole in the full frame (see our picture #7 above for illustration).
So that the cutout does not run inside the existing and absolutely necessary screw hole, this normally requires the highest possible positioning of the full frame within the inner area of the side window. Therefore, check beforehand the maximum possible position of the full frame by first removing the lock and holding the full frame in its best possible position from the inside with the door closed. Place the additional lock as far back as possible in its installation position in order to be able to see whether the cut-out to be made will then run just below the existing screw hole.
If the above requirement is met, then such an adjustment can be made without any problems with a little manual skill and will hardly catch the eye after installation has taken place. The existing screw hole is then covered by a cover supplied as standard. It is imperative that the full frame can also be screwed to the door at this point, otherwise rattling noises will occur (especially when driving) due to the vibration of the vehicle.
We recommend that you only check the fit from the inside with the doors closed. When the doors are open, you cannot determine whether the full frame in the intended position is not perhaps too high and is hitting the door seal there, so that the installation with an additional lock was successful, but the door may then no longer close at all . Due to tolerances that occur, albeit very rarely, in vehicle production, it cannot be ruled out that the position of the additional lock leads to the required cut-out through the screw hole in the full frame and that under these circumstances it cannot be screwed to the door or for the screw connection on site an alternative solution must be found.
For the sake of order, however, we would like and have to point out that making such an adjustment is always your own responsibility and, as a result, the statutory right to a warranty and/or guarantee for the respective full frame expires.
Required tools for assembly:
- Hand or cordless screwdriver with a small Phillips attachment and
- a metal drill Ø 2.8 mm (see also below under "Accessories")
Login


